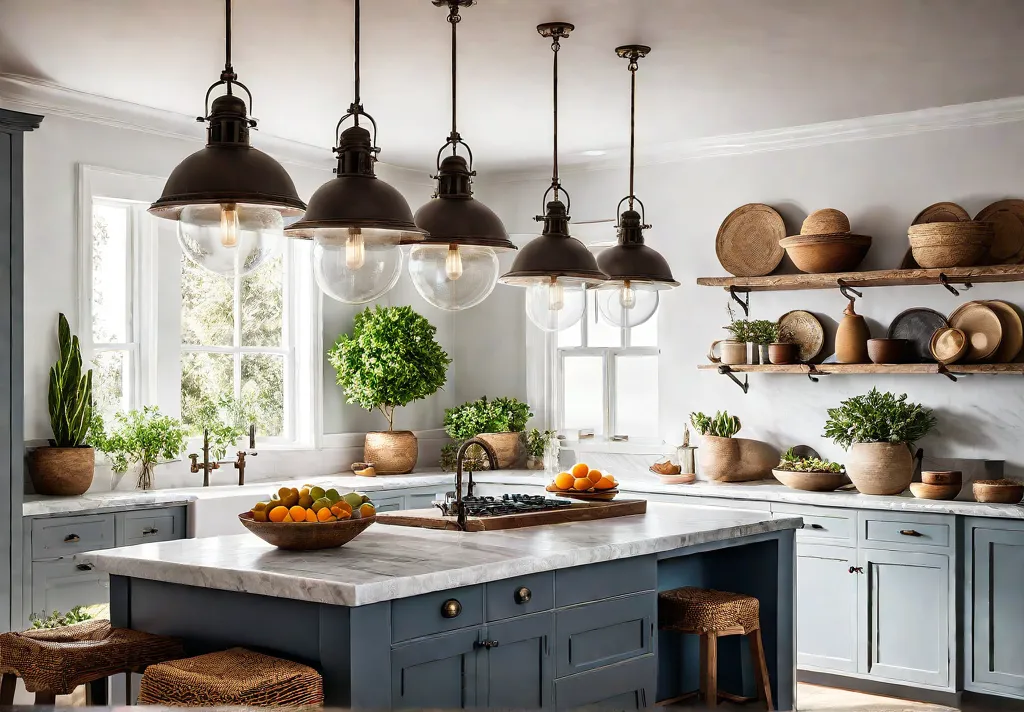
Have you ever stepped into a beautifully designed kitchen and felt an instant sense of warmth and character? There’s just something about the rustic charm of reclaimed materials that invites you to linger a little longer. From the rich patina of weathered wood to the unique textures of salvaged stone, these storied elements add soul to the heart of any home.
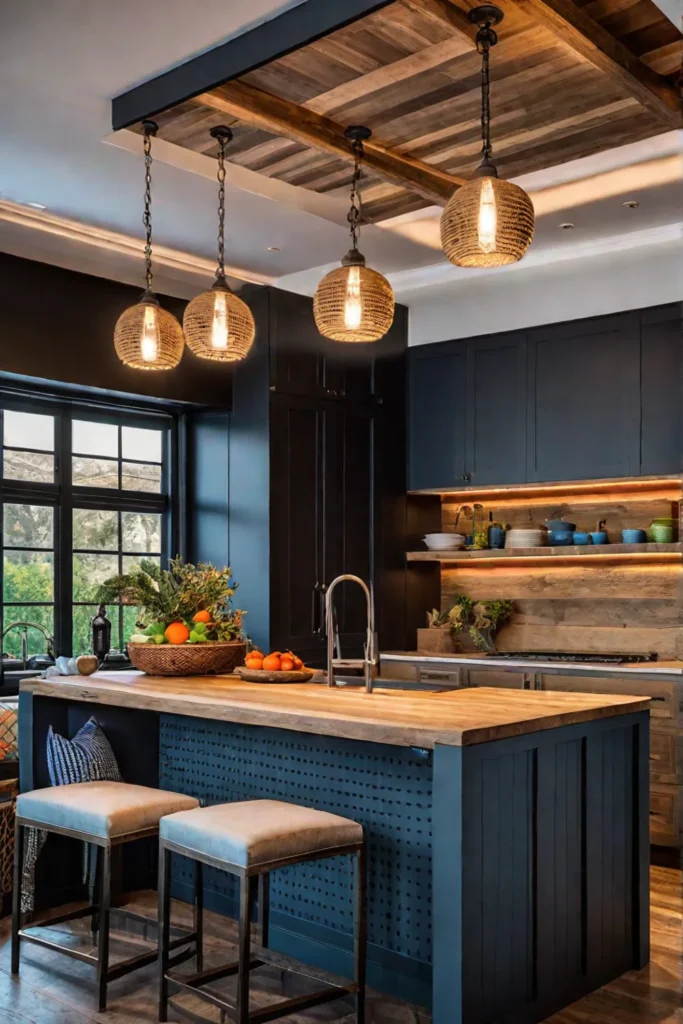
If you’ve been dreaming of a cozy, one-of-a-kind kitchen island bursting with rustic spirit, you’re in luck. In this step-by-step guide, we’ll explore how to transform diamond-in-the-rough materials into a stunning centerpiece packed with vintage inspiration. Get ready to roll up your sleeves and craft a handmade masterpiece overflowing with hard-earned character and sustainable style.
Sourcing Reclaimed Wood for Your Island Countertop
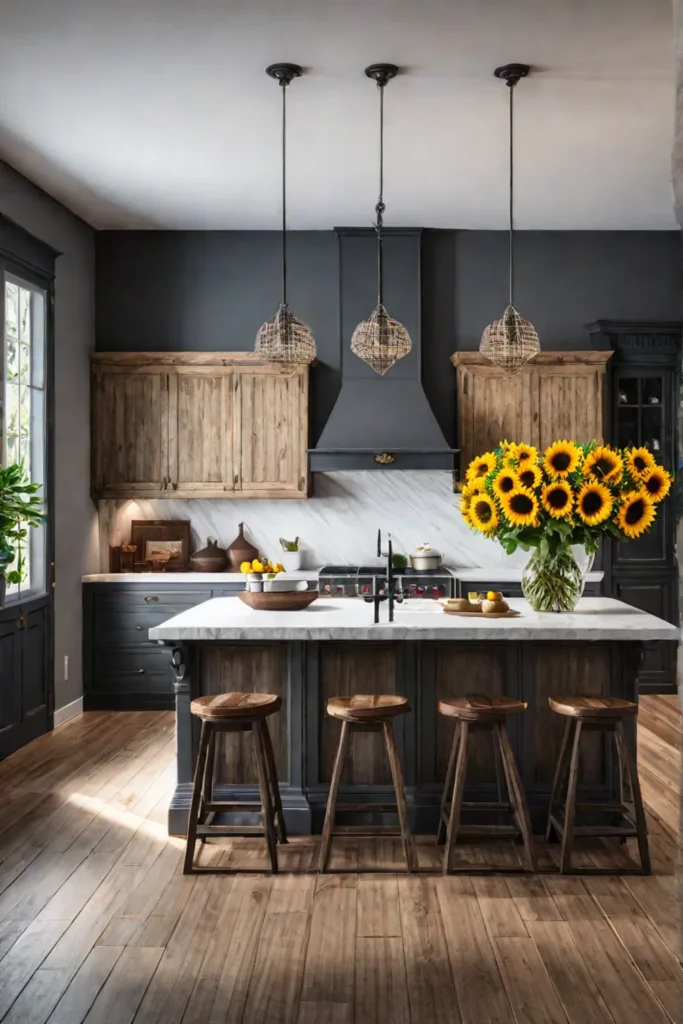
There’s just something so warm and inviting about reclaimed wood countertops, isn’t there? That rich patina and unique grain pattern tell a story – you can practically feel the history embedded in each plank. Not only does salvaged lumber add incredible character, but it’s an eco-friendly choice too. Why cut down more trees when you can breathe new life into wood that’s been lovingly weathered over time?
The Beauty of Reclaimed Wood
One of my favorite things about working with reclaimed wood is admiring the gorgeous texture and color variations. Subtle saw marks, nail holes, and mineral streaks are all part of the rustic charm. You’ll discover one-of-a-kind pieces with tones ranging from warm honey to steely grays. Reclaimed wood develops these sought-after shades naturally as it ages – an authentic look that’s simply impossible to replicate.
Where to Find It
So where can you track down quality reclaimed lumber for your kitchen island top? I love exploring local salvage yards, which are treasure troves for vintage materials. Scan the stacks for solid hardwoods like oak, maple, pine, and Douglas fir. Construction sites are another great source – contractors are often happy to have you haul away old beams and planks headed for the landfill.
You can also find an amazing selection online through reclaimed wood retailers. Many specialize in specific species and sell gorgeous pre-milled planks ready for projects. Just be sure to ask about the wood’s origins and any certifications.
Choosing Your Species
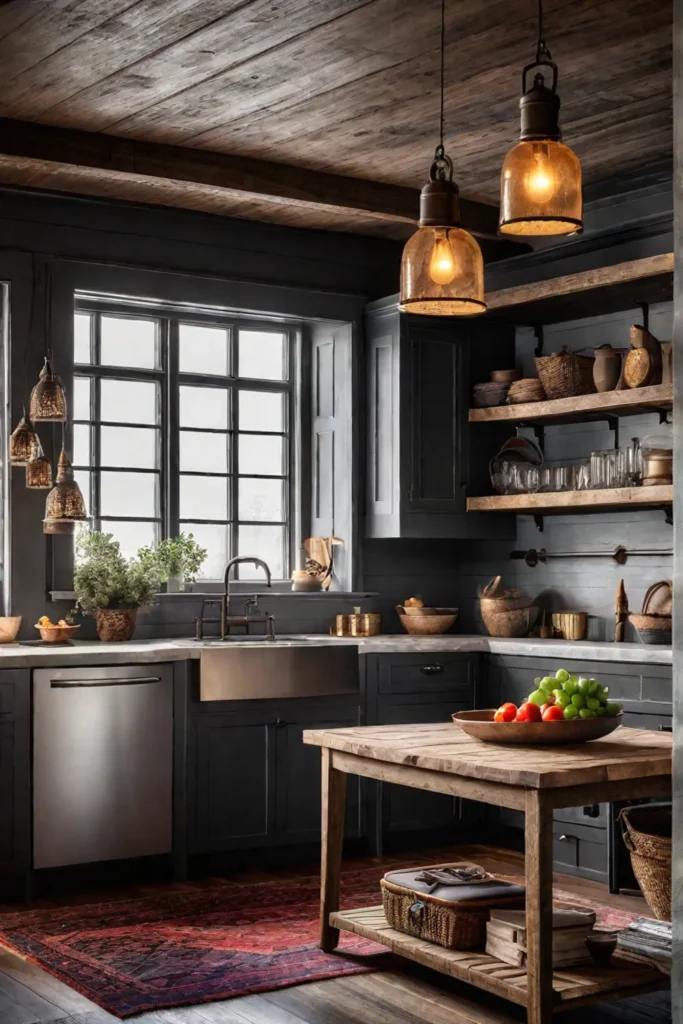
When it comes to reclaimed wood species for a kitchen island, you’ll want something durable with a tight grain. My personal favorites are oak for its warm, classic look or maple for its smooth, pale tones. Rustic yet sturdy pine and fir are great budget-friendly options too.
Before purchasing, inspect the wood closely. Well-cured pieces should be solid without major cracks or rot. Mild weathering and nail holes are okay – those add character! Just avoid anything overly splintered or damaged.
With a little digging, you’re sure to find the perfect reclaimed planks to craft a stunning island countertop. I love the storied charm salvaged wood brings. Plus, you’re keeping quality materials out of the landfill – it’s a win-win!
Building a Base for Your Rustic Kitchen Island
When it comes to crafting that idyllic farmhouse kitchen, having the right island base sets the perfect rustic tone. There are so many charming options using reclaimed materials – it’s all about finding pieces with history and character that speak to you.
Utilizing Reclaimed Barn Beams
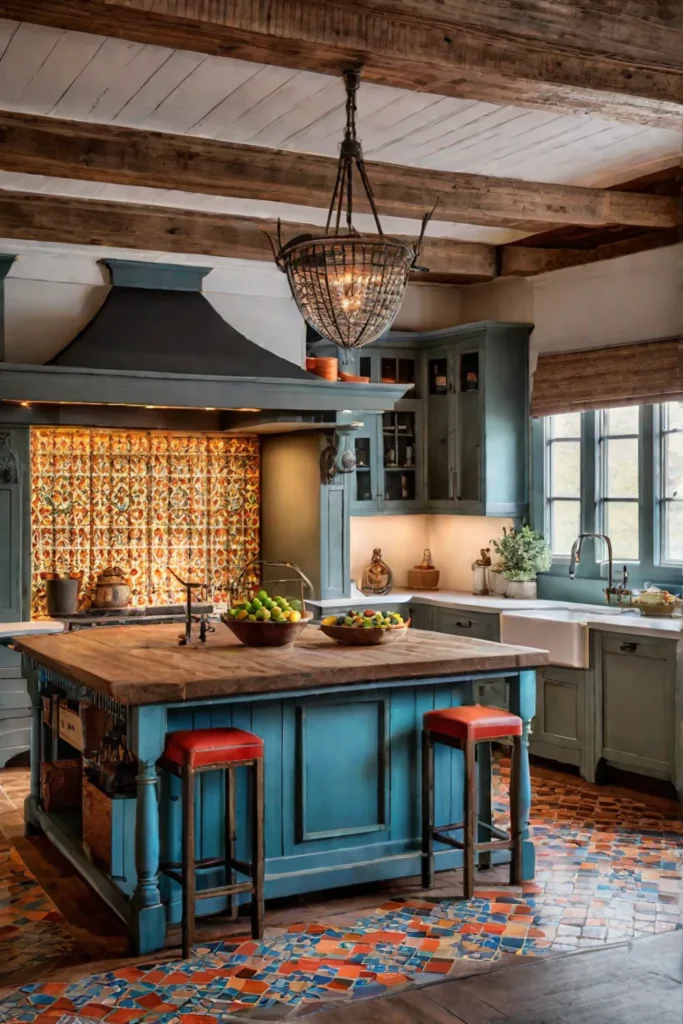
For me, few things evoke that cozy, timeless aesthetic like the warm, weathered patina of antique barn beams. These hand-hewn wooden supports have framed the backbones of rural homesteads for centuries. Just imagine the tales they could tell! Thankfully, many of these hardy beams have been carefully dismantled and preserved when old barns are razed.
With some creative ingenuity, these solid oak, maple or chestnut beams can be transformed into sturdy, striking kitchen island bases. Typical barn construction used large horizontal beams joined with interlocking mortise and tenon joints – a traditional building method that provides incredible strength. Follow these basic steps to prep your barn beams:
- Gently clean off any loose debris and remnants using a stiff brush
- Lightly sand any rough surfaces
- Join beams using exterior wood screws while maintaining the original joint patterns
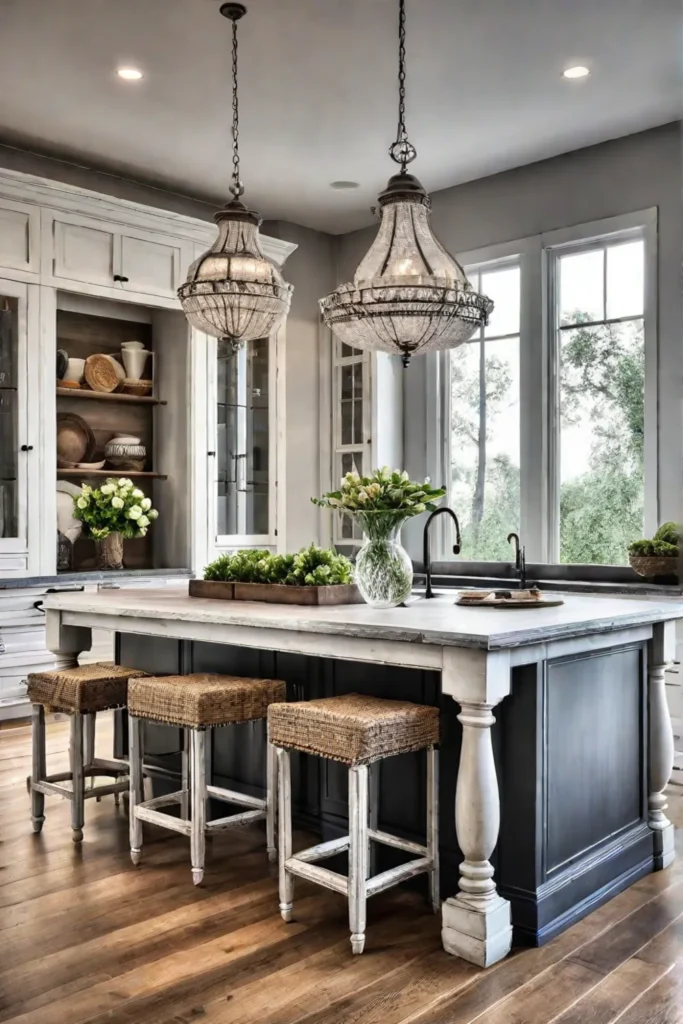
For added stability, you may need to incorporate a plywood substructure between the beams to properly support the countertop weight. But keep that rustic, minimalist profile by showing off those gorgeous beam faces as much as possible.
Repurposing Vintage Furniture
Another brilliant way to build an utterly unique kitchen island? Reclaim and repurpose an old cabinet, dresser, or workbench! I’m constantly amazed by the clever transformations DIYers dream of using these diamond-in-the-rough furniture pieces.
When scouring antique shops and estate sales for the perfect candidate, pay close attention to the overall size, structural integrity, and weight capacity. A solid wood cabinet or workbench will offer the most durable base for holding up a thick countertop. You’ll likely need to modify dimensions, add reinforcements, and replace any wobbly components.
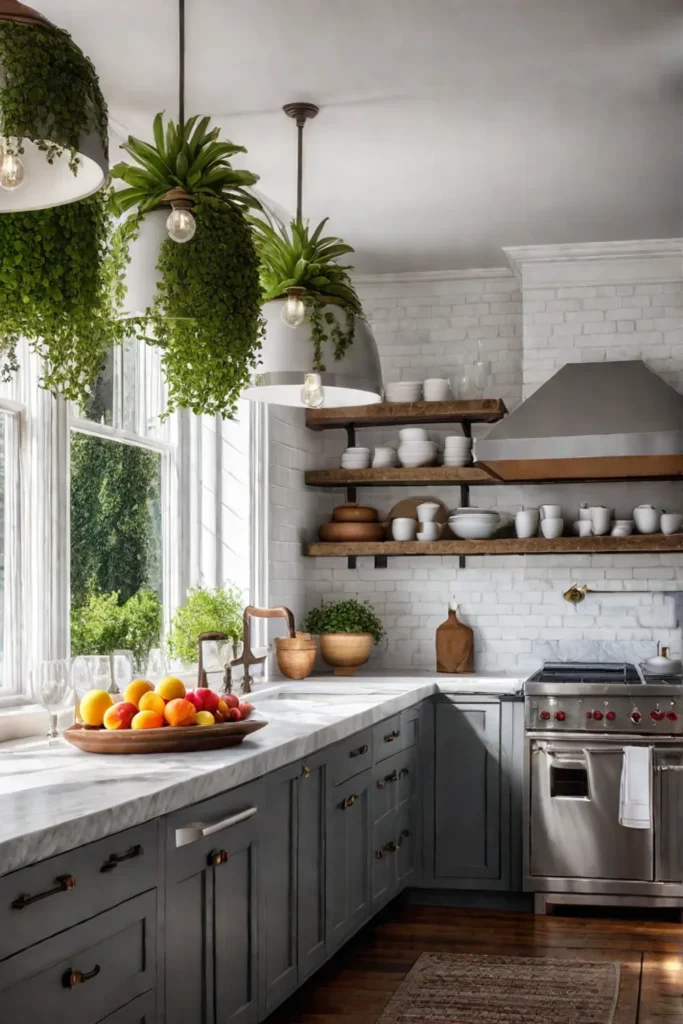
Just use your creativity – that quirky old vanity could become a showstopping island with some new shelving and painted a fresh coat of color. Or leave that worn, distressed look as a striking contrast to modern counters and appliances. The possibilities are endless for injecting personality and vintage spirit.
No matter which reclaimed materials you choose, always prioritize safety and structural soundness first. Your island needs to comfortably withstand decades’ worth of busy kitchen demands. With a little ingenuity though, you can craft an unforgettable rustic centerpiece overflowing with hard-earned character and soul.
Creating a Countertop from Reclaimed Materials
There’s something incredibly special about a kitchen island topped with reclaimed materials. The rich textures and organic imperfections tell stories of their past lives, lending undeniable character and soul to the heart of your home. Whether you opt for sleek slabs of salvaged marble or the rustic warmth of weathered wood planks, crafting your countertop is an immensely rewarding experience.
Preparing and Joining Reclaimed Wood Planks
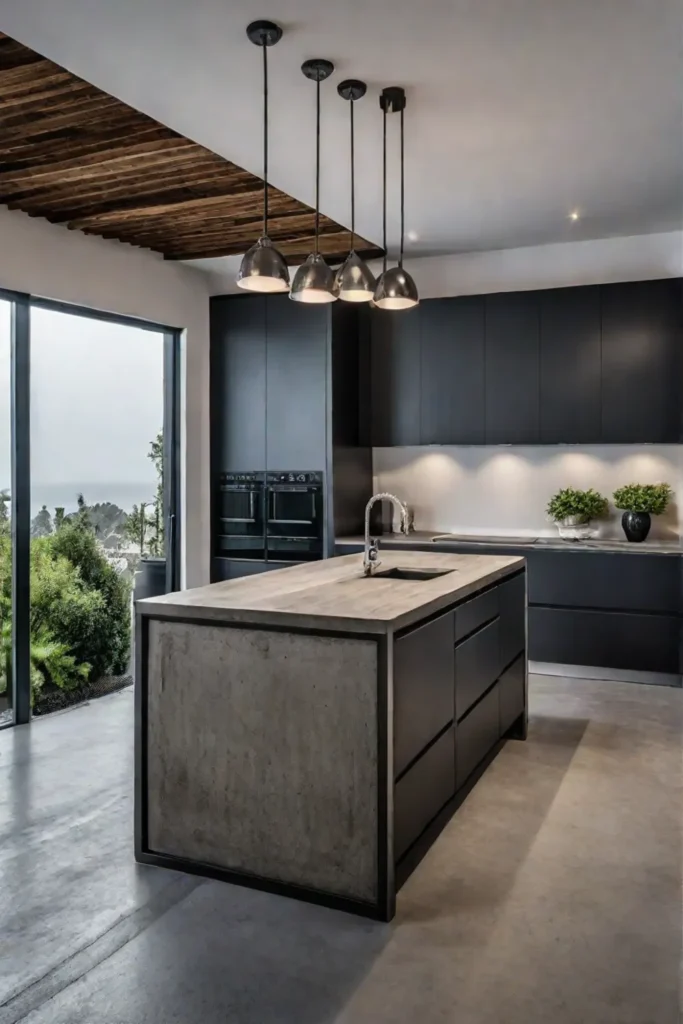
Perhaps no material exudes more rustic charm than aged wood planks rescued from old barns, factories, or homes. But don’t be fooled by their distressed appearance—transforming them into a sturdy countertop requires some elbow grease. Start by carefully inspecting each board, removing any protruding nails or hardware, and sanding away splinters.
The milling process that reclaimed wood undergoes has a huge impact on its final look. Plainsawn boards display distinctive cathedral patterns, while quartersawn pieces have a straighter, tighter grain patterns with a velvety ribbon stripe. Consider your desired aesthetic and let it guide your plank selection.
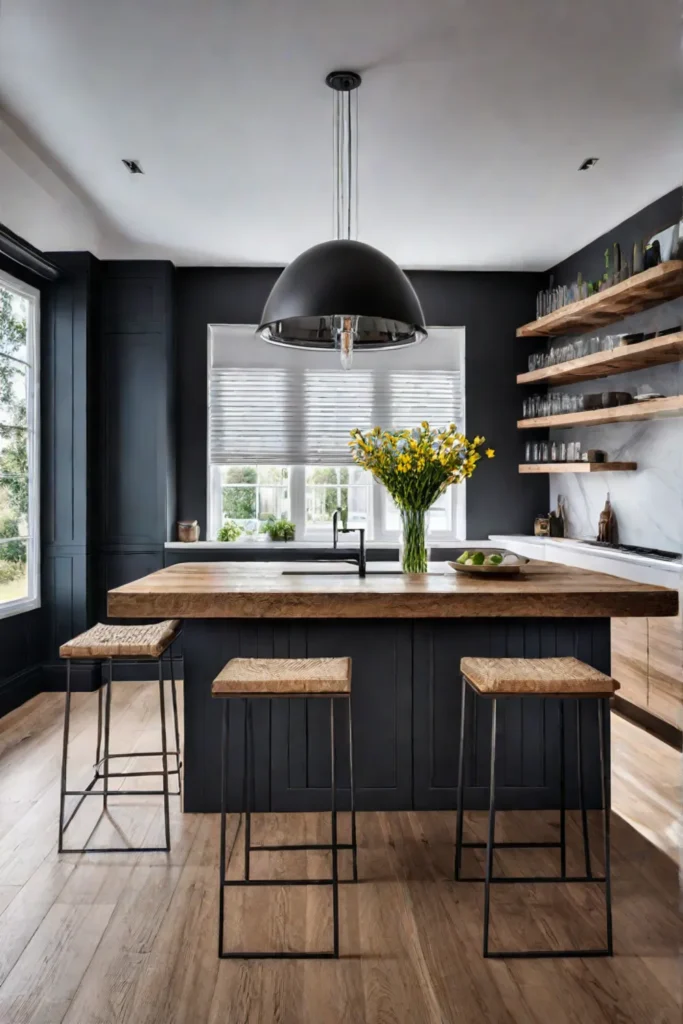
When joining the planks, precision is key for a smooth, gap-free surface. I recommend using a biscuit joiner and heavy-duty wood glue rated for countertops. Alternating the orientation of adjacent planks (placing one plank bark-side up, then the next bark-side down) also helps minimize any warping. Clamp everything tightly and let the glue fully cure before moving on.
Exploring Alternative Countertop Materials
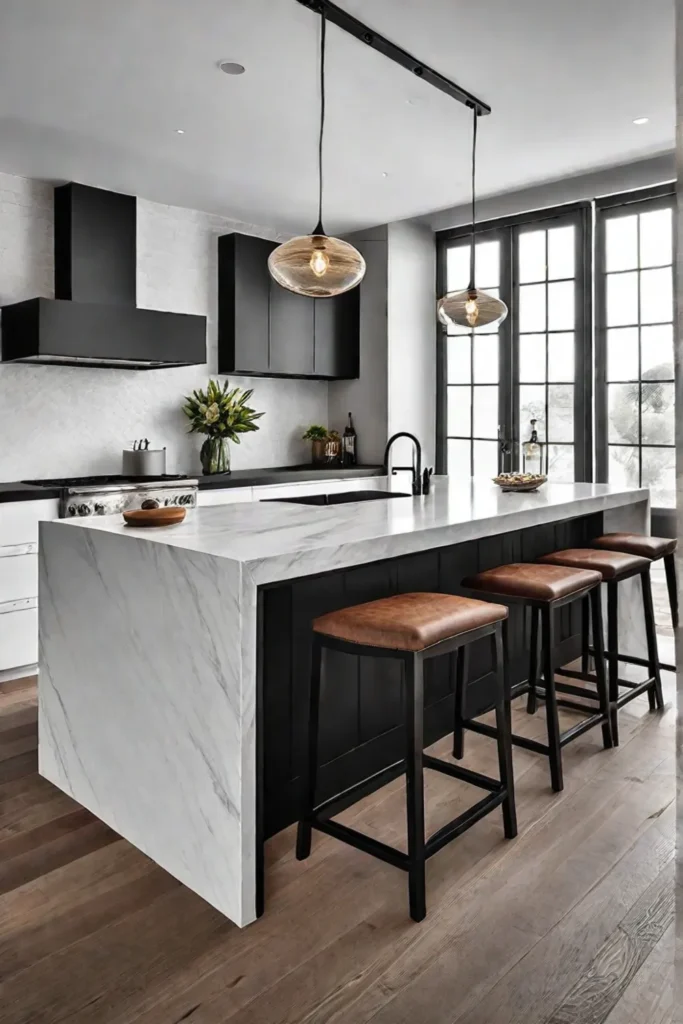
While reclaimed wood is an ever-popular choice, don’t overlook other reclaimed surfaces with their unique appeal. Salvaged marble or granite slabs offer luxurious elegance with beautifully veined patterns. Remnants and offcuts are often available at bargain prices from stone yards or contractors.
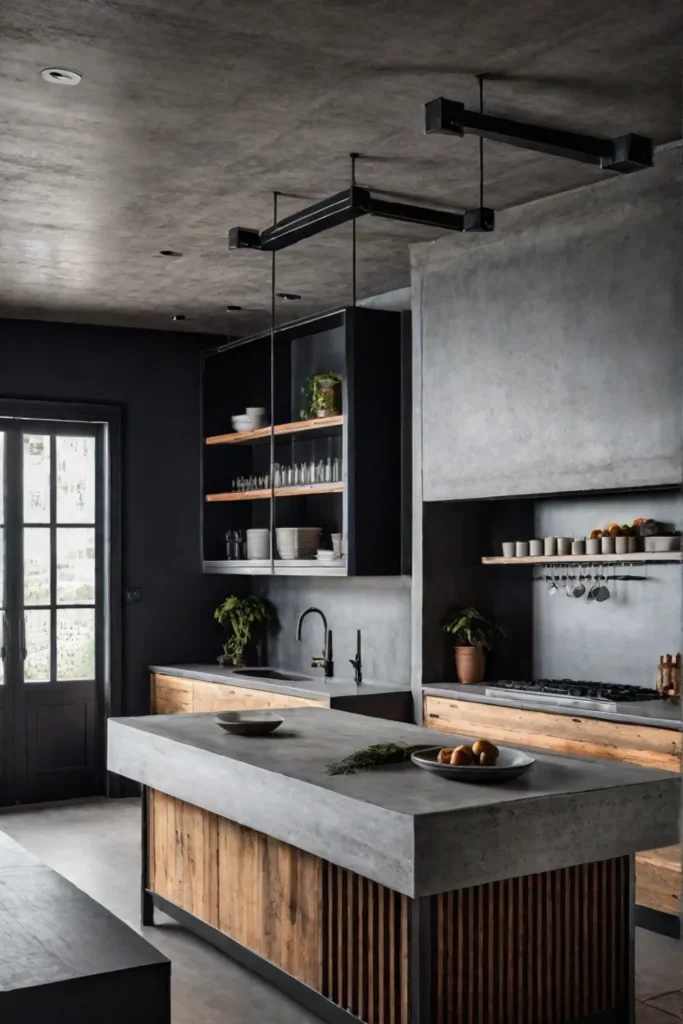
For a more industrial vibe, consider reclaimed slate or poured concrete countertops made with recycled materials. You can even get creative by embedding decorative tiles, shells, or other found objects right into the concrete for a one-of-a-kind design.
No matter which reclaimed material you choose, the key to longevity is proper finishing. For wood, I favor food-safe mineral oil and beeswax blends that enhance the natural grain while providing protection. Stone requires periodic resealing to prevent staining. Concrete should be sealed with a penetrating sealant to lock out moisture.
Putting in the extra effort to create your reclaimed countertop is so worthwhile. You’ll end up with a gorgeous, eco-friendly focal point that can’t be replicated—and a true conversation piece infused with history.
With a little patience and creativity, that diamond-in-the-rough slab or stack of weather-beaten planks will become the showstopping centerpiece your kitchen deserves. Just wait until you run your hands over the velvety patina you’ve revealed! In the next section, we’ll explore how to add the perfect finishing touch with some vintage cabinet hardware.
Adding Rustic Character with Vintage Hardware
One of the easiest ways to infuse your rustic kitchen island with character and charm is by incorporating vintage hardware. From drawer pulls and door hinges to wheels and casters, these unique finds add a wonderful sense of history and craftsmanship that you just can’t replicate with new pieces.
Sourcing and Selecting Vintage Hardware
The hunt for the perfect vintage hardware is half the fun! Check out local antique shops, flea markets, salvage yards, and even online retailers for a treasure trove of options. Look for well-made, solid pieces that show their age in a beautiful, rustic way.
Some styles to keep an eye out for:
- Simple iron bin pulls or ring handles from old farmhouses
- Porcelain knobs in shades of white, green, or blue
- Ornate brass hinges and latches from antique cabinets
- Sturdy iron casters or wheels from factory carts
Incorporating Hardware for Functionality and Style
Of course, vintage hardware isn’t just for looks – it needs to work seamlessly with the design and function of your island. Take measurements and do a little research to make sure any pulls, knobs, or hinges you choose will be compatible with your cabinetry.
But don’t be afraid to get creative with placement too! Incorporating casters underneath gives your island wonderful mobility while mounting a row of coat hooks along the side creates handy towels or pot holders. Mixing and matching different metals, shapes, and styles adds visual interest.
One of my favorite tricks is to use a gorgeous antique door pull or handle as an open shelving bracket. It’s an unexpected touch that celebrates the hardware as a design accent.
Restoring and refreshing vintage finds is simple with a bit of elbow grease. Soak tarnished metal pieces in vinegar or use a baking soda paste to gently buff away grime and corrosion. A quick coat of wax or spray lacquer helps protect the beautiful patina.
So have fun scouring shops and sales for those one-of-a-kind vintage hardware gems! They’re the perfect final flourish for a kitchen island brimming with rustic spirit.
And speaking of finishing touches…
Finishing Touches for Your Rustic Kitchen Island
Now that you’ve assembled the base of your rustic island using reclaimed materials, it’s time for the fun part – adding all those little details that make it truly unique and functional for your space. From clever storage solutions to lighting that sets just the right mood, the finishing touches are what transform your handcrafted piece into the heart of your cozy kitchen.
Maximizing Functionality with Shelving and Storage
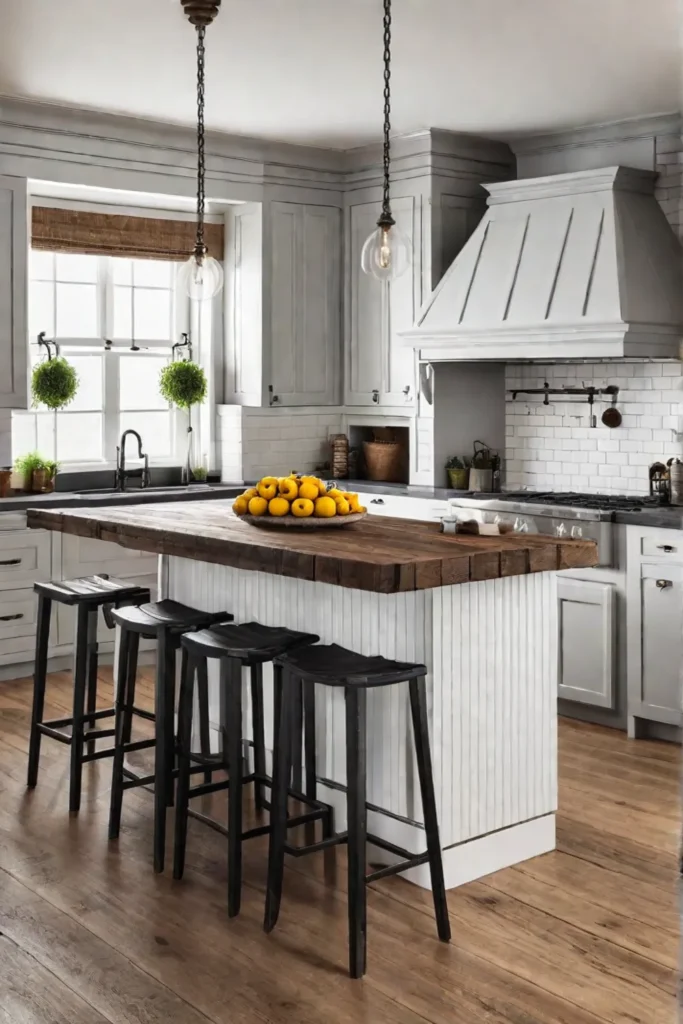
One of the best things about a freestanding island is the opportunity for tucking in extra shelving and smart storage. If you’re short on cabinet space, get creative by repurposing things like antique wooden crates as open shelving on the ends of your island. Stash cookbooks, pottery, and decorative accents inside for an eclectic, collected look.
For a more streamlined vibe, mount a sleek metal pipe or cedar plank shelf along the back. Not only does it provide a spot for frequently used items, but it also makes a great styling ledge for potted herbs, vases, or vintage tins.
Adding Style with Seating, Lighting, and Accessories
Of course, your island should be as pretty as it is practical. Cozy up the space by incorporating a few stools or benches made from reclaimed materials like old railroad ties or church pews. The worn patina brings so much character.
Pendant lighting is another opportunity to blend modern and vintage elements. I’m crazy about the trend of repurposing items like antique mason jars, baskets, or colanders as rustic light fixtures. Hung in a row over the island, they cast such a warm, flattering glow.
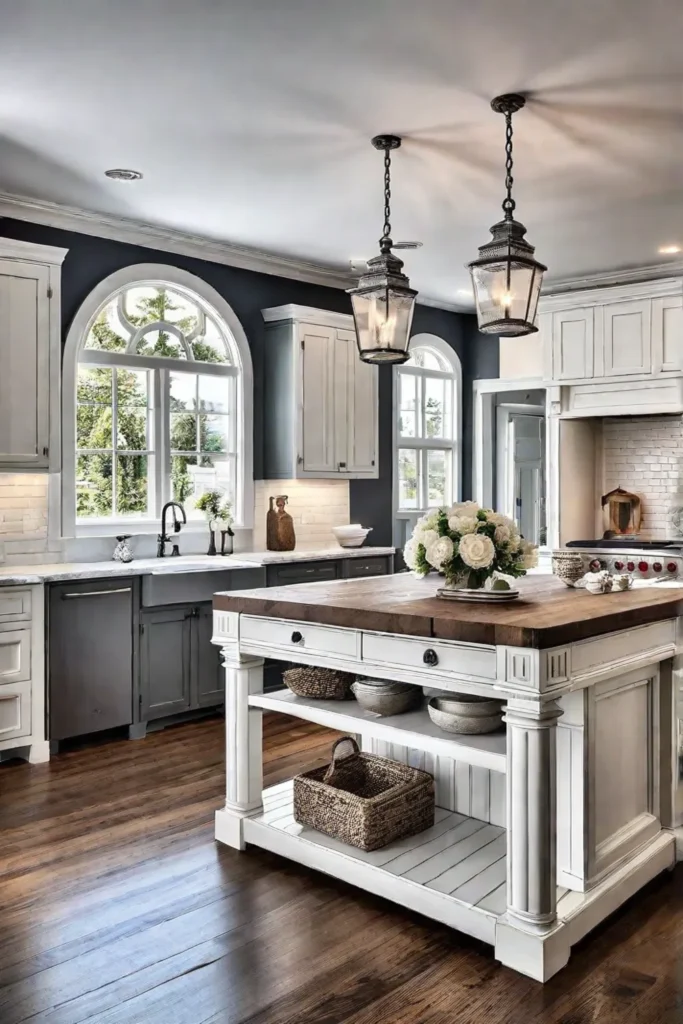
Finally, don’t forget those little decorative touches! A tarnished silver tray corrals oils and salts. A vintage scale gets new life as a fruit bowl. And lush potted plants trailing over the edge soften the whole look. It’s those personal, collected details that make your space feel like home.
With a few thoughtful, creative touches, your one-of-a-kind rustic kitchen island becomes more than just another piece of furniture. It’s a true centerpiece that anchors your whole home with charm and functionality. In the next section, we’ll explore ways to show off your masterpiece…
Showcasing Your Rustic Kitchen Island Masterpiece
After putting in all that hard work and creativity, your one-of-a-kind rustic kitchen island deserves a chance to shine! This handcrafted centerpiece will be the focal point and heart of your kitchen for years to come. Let’s explore some inspiring ways to style and seamlessly integrate your island into the rest of your design.
Styling Tips to Highlight Your Island
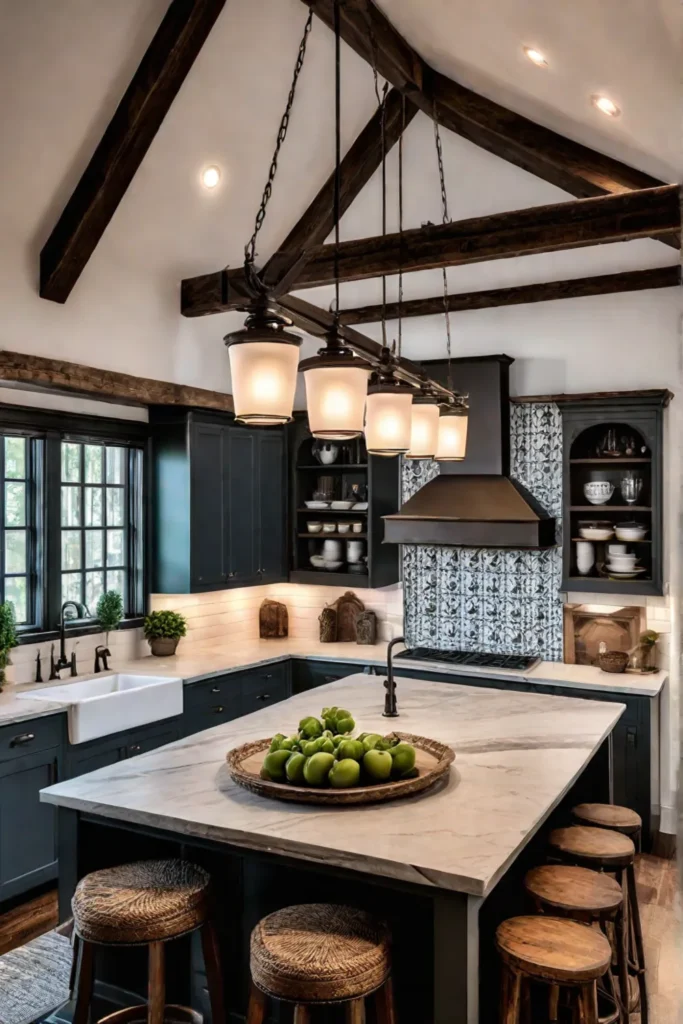
There’s no need to overcrowd the island top with too many accessories. Keep things simple and let the natural beauty of the reclaimed wood take center stage. A few well-placed plants in vintage crocks or galvanized buckets add lovely pops of life. Cozy textiles like linen towels and woven trivets in neutral hues enhance that rustic yet refined vibe.
Hang a salvaged sign, antique mirror, or basket collection on the walls behind the island for extra visual interest. If you have open shelving, artfully arrange stacks of ceramic plates, mason jars filled with utensils, and other vintage kitchen items for that signature New England farmhouse look.
Seamlessly Integrating the Island into Your Kitchen
The key is striking the right balance between letting your DIY island be the star and ensuring it flows cohesively with the rest of your kitchen design. Repeating colors, materials and textures from the island elsewhere helps everything feel intentional and curated.
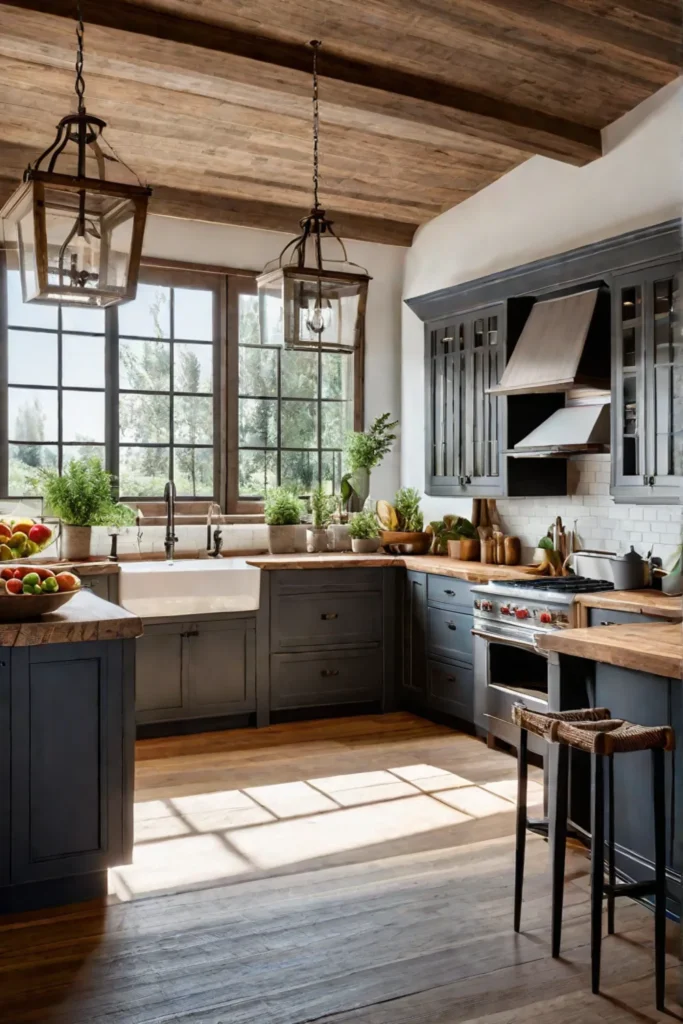
For example, if your island has a soft green milk paint finish, you could incorporate similar shades through subway tile backsplashes, painted cabinets, or wall colors. Leaning into natural wood tones for your open shelving, floors or countertops creates that cozy, organic feel.
Mixing metals is acceptable these days, but try to echo any iron, copper, or brass accents from the island in your lighting fixtures, cabinet hardware, or decor items. Those subtly cohesive details are what give a space that effortlessly “pulled together” quality.
No matter your kitchen’s overall style, that lovingly crafted island will be right at home. Whether it’s a modern farmhouse cook space or a more traditional design, your handiwork injects so much warmth and character. I encourage you to proudly display it as the beautiful, functional centerpiece it is!
Wrapping Up
With a little ingenuity and some reclaimed treasures, you can craft a truly one-of-a-kind kitchen island. This handcrafted centerpiece will anchor your space with unmatched war
mth and character for decades to come. Just imagine all the memories waiting to be made while gathered around your custom creation!
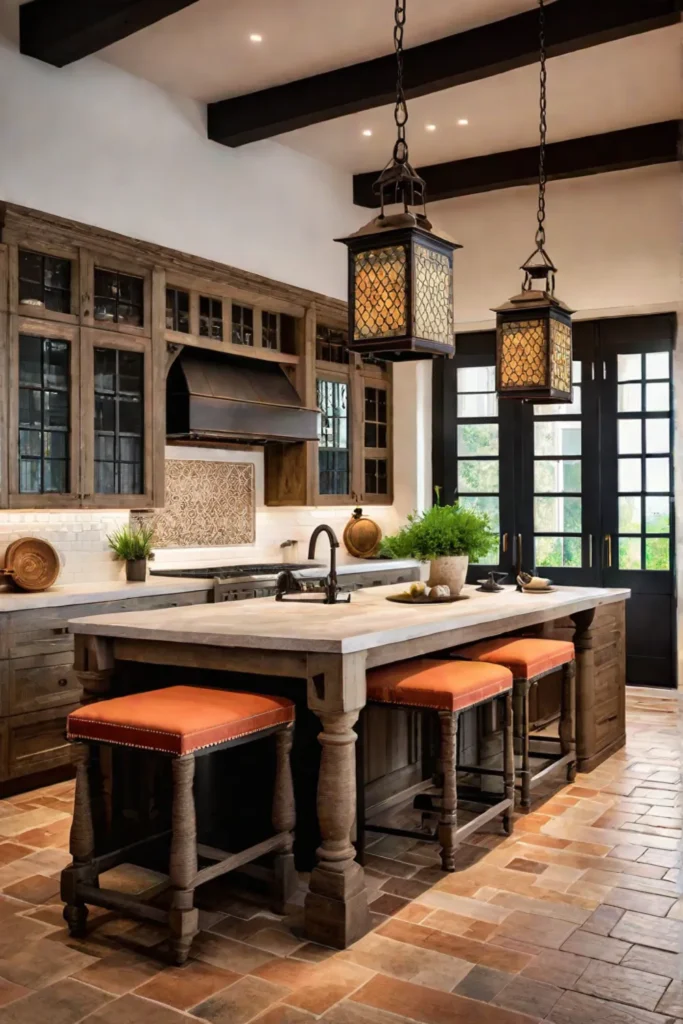
More than just another piece of furniture, your rustic island is a celebration of sustainability and the stories behind those lovingly weathered materials. Each nail hole, mineral streak, and saw mark is a reminder to appreciate the beauty in life’s imperfections. So go ahead and run your hands over those rich textures. You’ve just breathed new life into a little piece of history.
Whether you opt for reclaimed wood’s cozy warmth or the elegant veining of salvaged stone, your island will be a true conversation starter. It’s an inspired reminder that home is much more than just four walls – it’s crafting spaces overflowing with soul, sustainability, and personal style. Now get out there and start creating your masterpiece!
