If you’re a country living enthusiast like me, you know the value of having a cozy, rustic deck to enjoy the great outdoors. Whether relaxing with a good book, hosting a backyard barbecue, or simply taking in the sights and sounds of nature, a well-built deck can transform your outdoor space into a true oasis.
Did you know that a deck can increase the value of your home by up to 80% of the project cost? That’s a pretty incredible return on investment if you ask me. Plus, with the right design and materials, a deck can last for 15-20 years or more. So, it’s an upgrade that keeps on giving.
In this step-by-step guide, I’ll walk you through building a deck like a pro, from the initial planning stages to the final finishing touches. By the end, you’ll have all the knowledge you need to create an outdoor retreat that’s beautiful and built to last. Let’s get started!
Planning and Preparation
Before you start swinging that hammer, it’s crucial to do your homework and plan out your deck project. After all, a little preparation goes a long way in ensuring your deck turns out exactly how you envisioned.
First, think about how you want to use your new outdoor space. Will it be a spot for relaxing and unwinding? Entertaining friends and family? Or maybe a bit of both? Knowing the purpose will help you determine the ideal size and layout. For example, a deck for hosting parties may need more room for seating and dining areas.
Next, check with your local building department for the necessary permits and approvals. Skipping this step could lead to hefty fines or even having to tear down your hard work. Trust me, it’s better to go through the proper channels from the start.
When it comes to materials, think about factors like climate, usage, and your budget. Composite decking might be a smart choice if you live in a humid area, while pressure-treated wood could be a more affordable option. And don’t forget to stock up on all the essential tools – a level, a square, a saw, and any other equipment you’ll need for a smooth build.
Finally, take the time to prepare the site properly. Clear away any debris, level the ground, and ensure proper drainage. This foundation work may involve some digging and grading, but it’s crucial for the long-term stability of your deck.
Deck Framing
With the planning and prep work done, it’s time to start building the deck’s frame. This sturdy foundation will support everything else, so it’s important to get it right.
First, you must lay the deck’s foundation and install the support posts. These posts are the backbone of your deck, so make sure they’re level, plumb, and spaced according to your design. A common rule of thumb is to space them 16 inches apart, center-to-center.
Next, you’ll construct the frame, including the joists and beams. The joists are the horizontal members holding the deck boards, while the beams are the vertical supports connecting to the posts. Again, proper spacing and alignment are key here. You’ll want to regularly check for levelness and squareness to ensure a stable, sturdy frame.
One interesting fact to remember is that the average deck frame can support up to 50 pounds per square foot of weight. So, with the right framing techniques, you can feel confident your deck will be able to handle all the fun and festivities you have planned.
Deck Boards and Railings
Now that the frame is in place, it’s time to add the deck boards and railings – the elements that will bring your outdoor oasis to life.
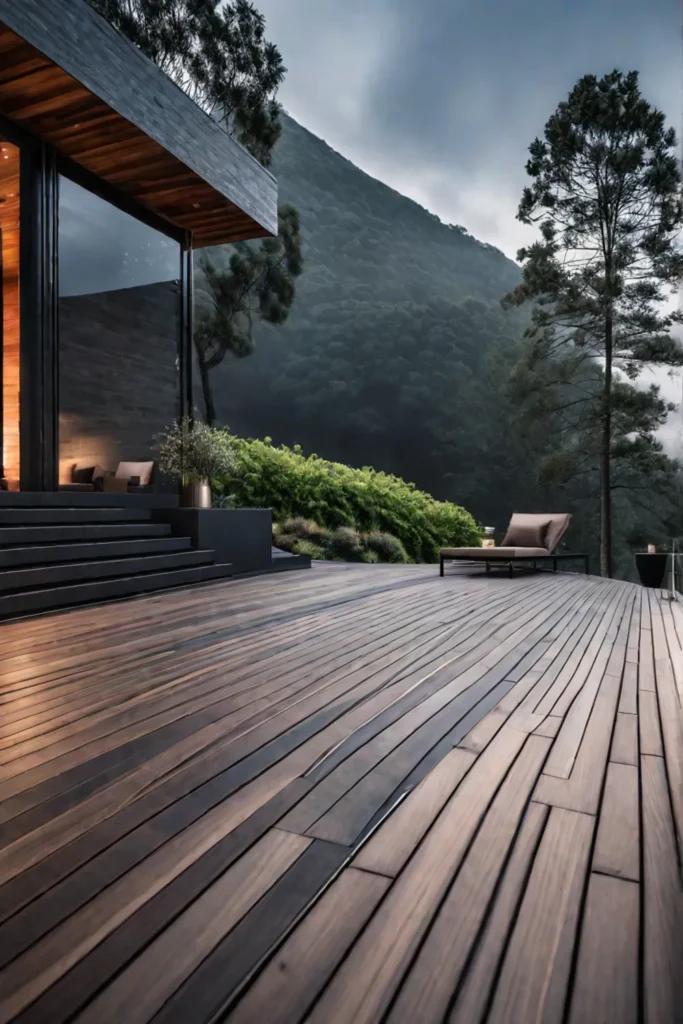
Regarding deck boards, you’ve got a few options. Wood is a classic choice, offering a warm, natural look. However, composite or PVC boards can be great alternatives if you’re looking for something a bit more low-maintenance. Just be sure to pick materials that will suit your local climate well.
No matter which decking material you use, the key is installing the boards properly for a seamless, visually appealing finish. Use a decking tool to maintain consistent spacing, and apply a sealant or waterproofing product to protect the wood from the elements.
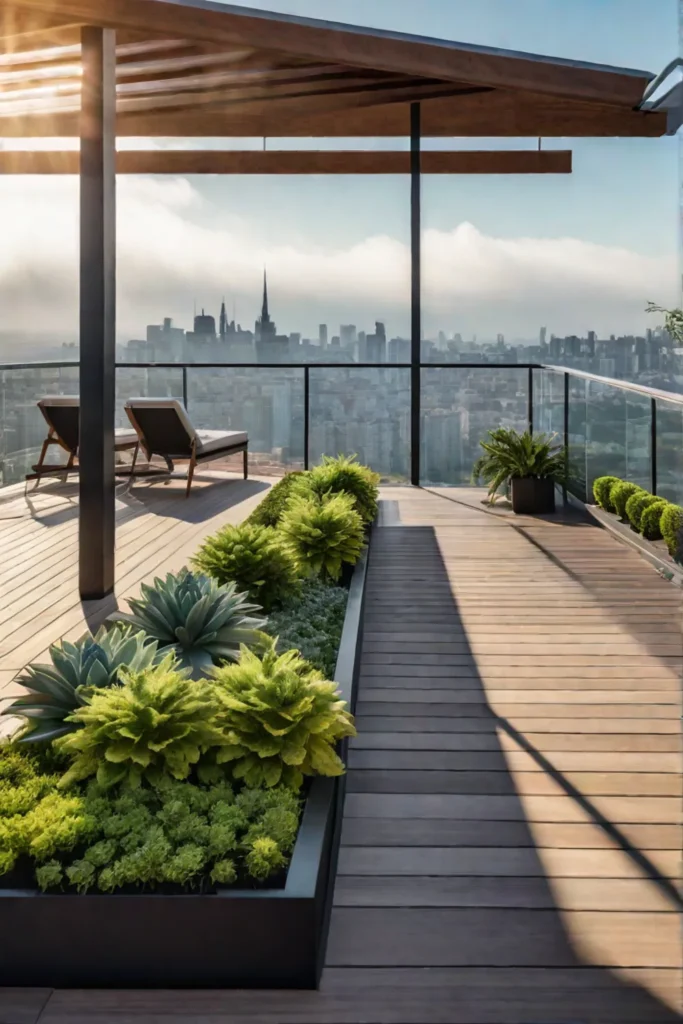
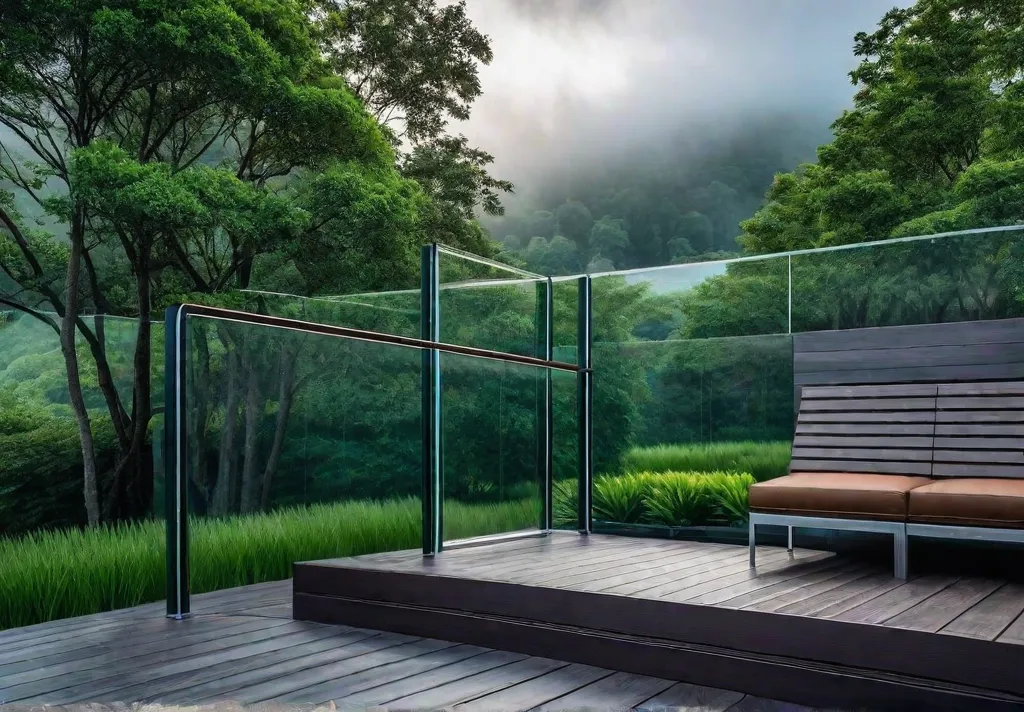
Of course, safety should also be a top priority. That’s where the deck railings come in. These not only add an extra layer of protection but can also enhance the overall aesthetic of your outdoor space. When designing and installing the railings, ensure they meet local height and stability requirements.
You can get creative with the railings, too. Use materials that complement the deck boards, and consider adding decorative elements like balusters or finials. The goal is to create a cohesive, visually striking look that’s also functional and safe.
Deck Stairs and Access
No deck is complete without a sturdy set of stairs and convenient access points. These features are essential for safe and easy entry and exit, so let’s dive into the details.
Regarding the stairs, the first step (pun intended) is calculating the appropriate dimensions. A good rule of thumb is to divide the total height of the deck by the number of stairs you want. This will give you the ideal riser height, typically around 7 inches. The tread depth, or the horizontal part you step on, should be around 11 inches.
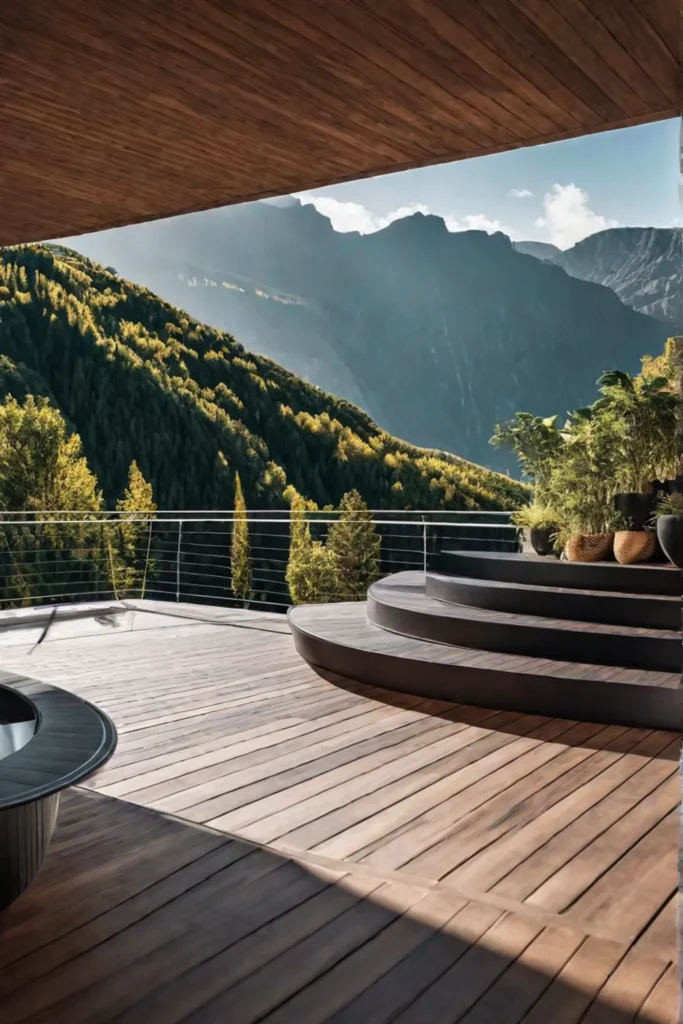
Of course, you’ll want to use durable, weather-resistant materials like pressure-treated lumber or composite. And don’t forget to attach the stairs to the deck frame and include sturdy handrails on both sides. Properly designed stairs can reduce the risk of falls and other accidents by up to 50% – a pretty impressive safety boost if you ask me.
In addition to the stairs, you may also want to incorporate other access points, like gates or pathways. These can make it easier for people (and pets!) to get on and off the deck, especially if it’s elevated. Ensure these elements meet any local building codes or safety regulations.
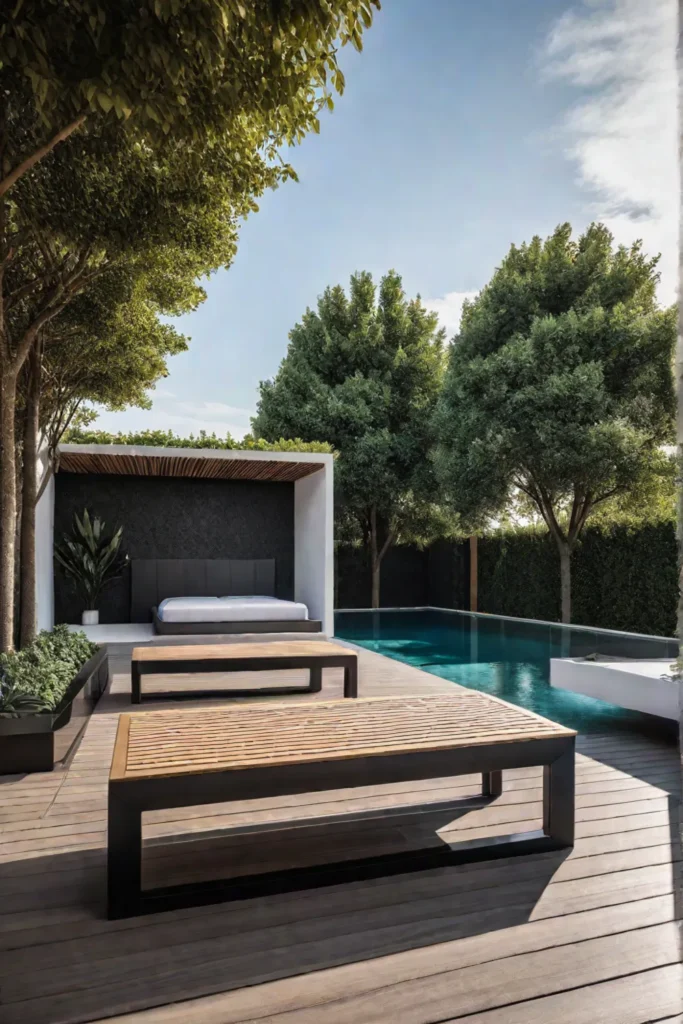
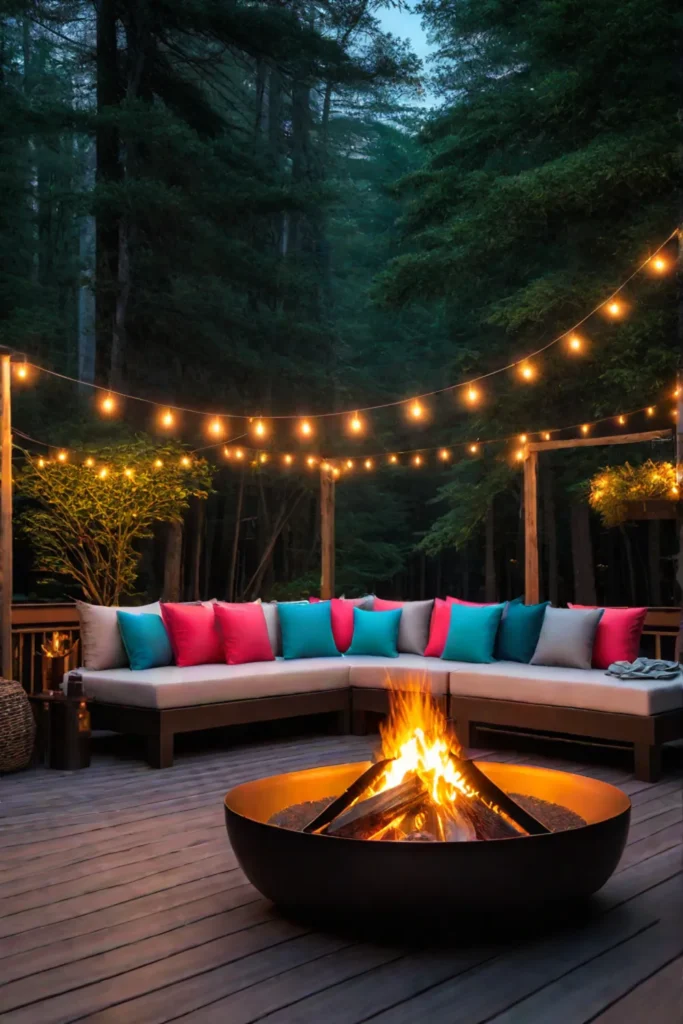
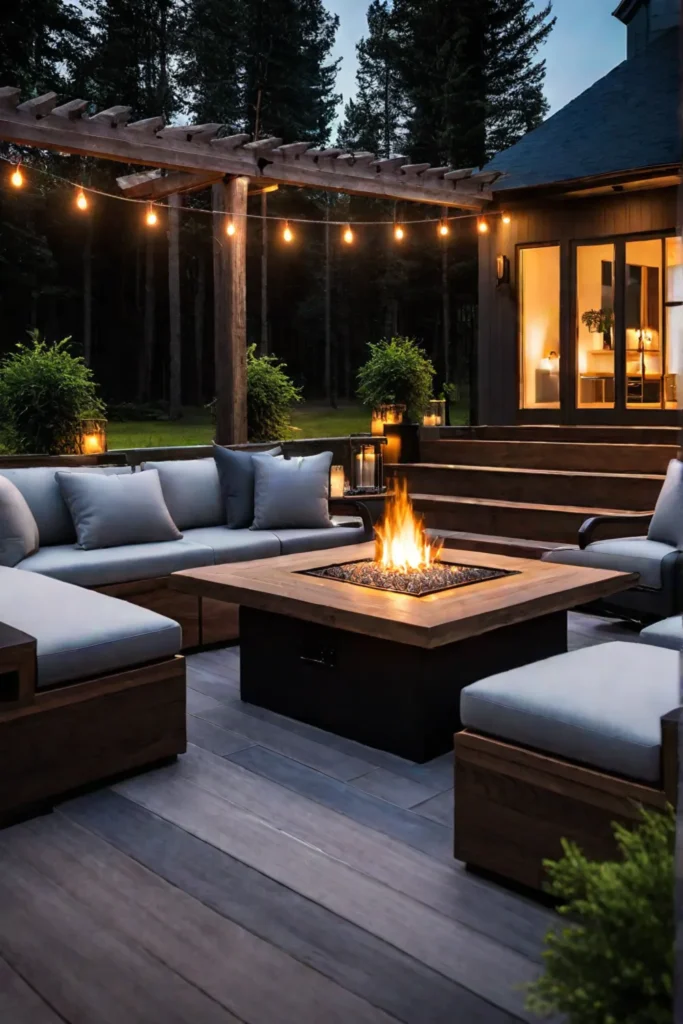
Deck Finishing Touches
We’re in the home stretch now! The final step is adding those all-important finishing touches to elevate your deck’s appearance and functionality.
Let’s start with lighting and accessories. Properly installed deck lighting can increase the usable hours of your outdoor space by up to 50%. From recessed lights to rail-mounted fixtures, there are plenty of options. Consider factors like energy efficiency, aesthetics, and safety when selecting.
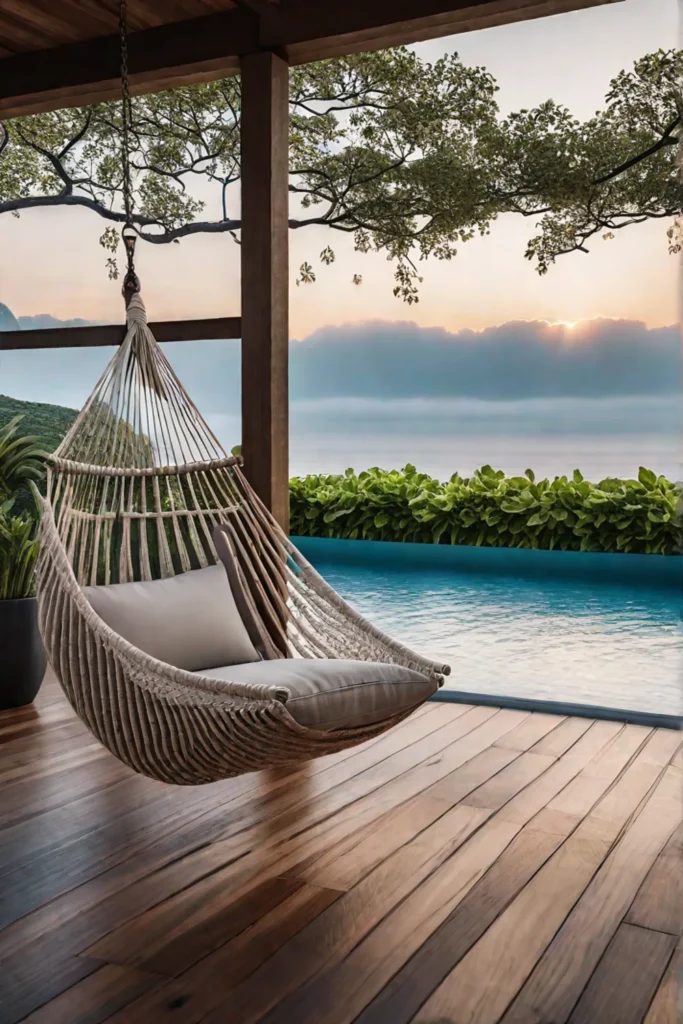
And don’t forget about decorative elements! Trellises, planters, and other accessories can add a personal touch and increase the perceived value of your home by up to 20%. Just be mindful of placement—you want these features to enhance the deck’s functionality, not get in the way.
Of course, maintaining your deck is just as important as building it. Regular cleaning, sealing, and inspections will help protect your investment and ensure it looks its best for years. Promptly addressing any issues, like warping or rot, is also key.
Conclusion
There you have it, my friend – a comprehensive, step-by-step guide to building a deck like a pro. By following these tips and techniques, you’ll be well on your way to creating an outdoor oasis that’s beautiful and built to last.
Remember, a little planning and preparation goes a long way. Take the time to map out your vision, select the right materials, and ensure a solid foundation. And don’t be afraid to get creative with the finishing touches – that’s where you can make the space your own.
So what are you waiting for? Grab your tools, channel your inner country gentleman, and let’s get to work on that dream deck of yours. With a little elbow grease and attention to detail, you’ll enjoy your new outdoor retreat in no time.