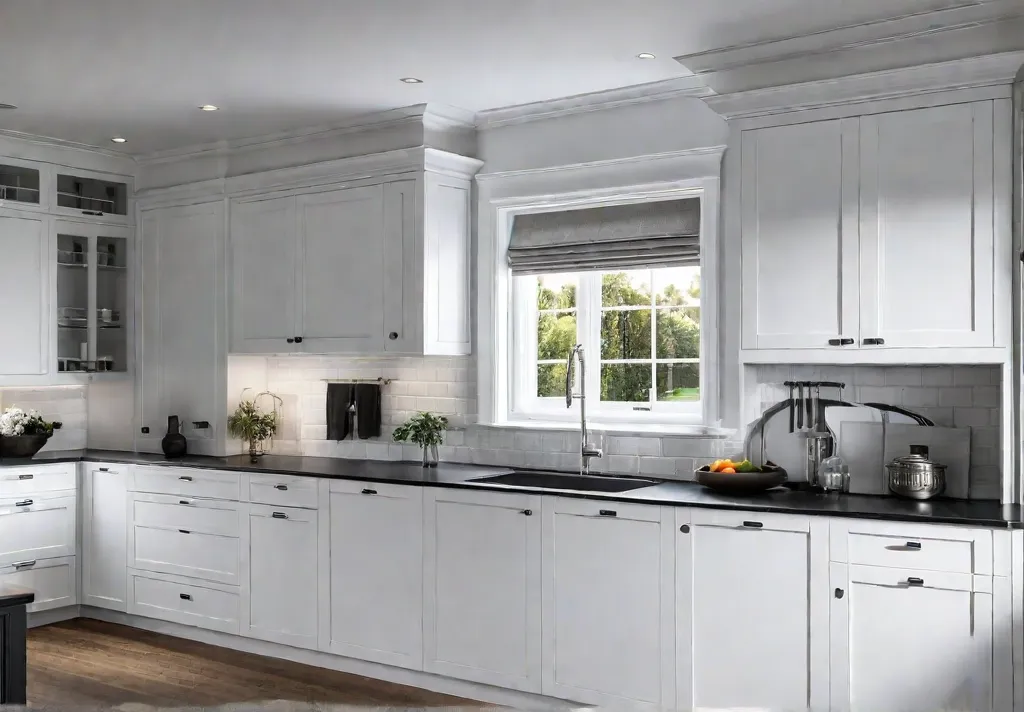
Kitchen countertops can make or break your space’s entire look and feel. I mean, they’re practically the centerpiece! But a full countertop replacement? Yikes, that can get expensive fast. Luckily, there are plenty of budget-friendly DIY options to give your kitchen a fresh new look without breaking the bank.
As a fellow design-savvy New Yorker, I know how important it is to keep your space modern, sleek, and uncluttered. I’m excited to share some of my favorite DIY countertop transformation ideas. Whether you’re craving a bold, high-contrast look or a cozy, minimalist vibe, there’s a solution that’ll have your kitchen feeling like a million bucks – for a fraction of the cost.
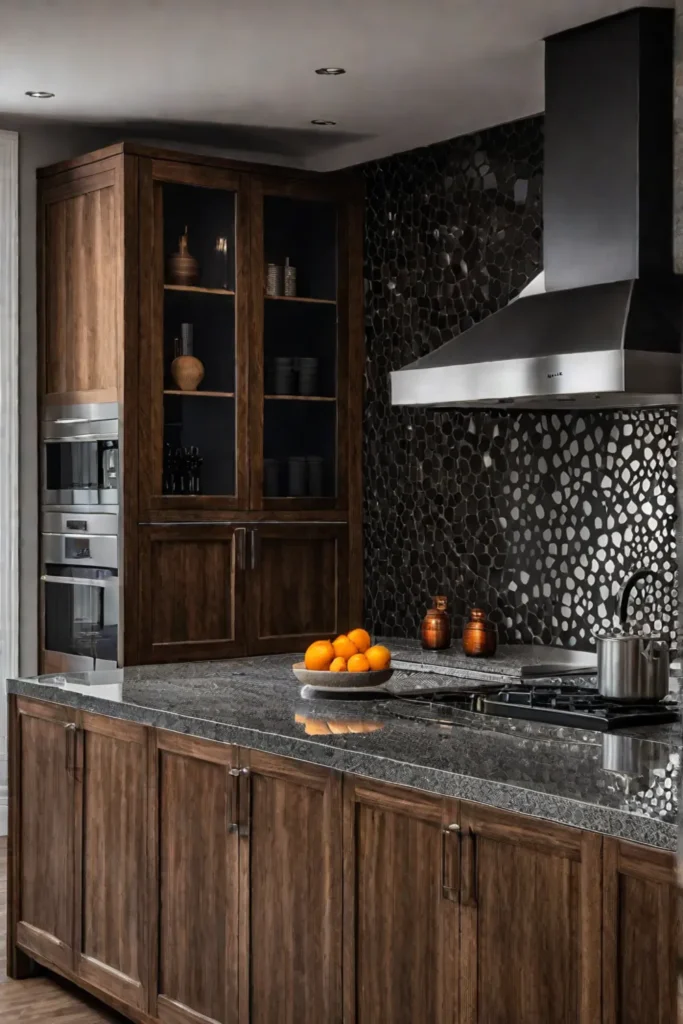
So, grab your toolbox and get ready to upgrade those tired old countertops. Trust me, your guests will be impressed when they see your handiwork. Let’s dive in!
Painting Countertops
Painting your existing countertops is one of the most budget-friendly ways to give them a fresh look. But don’t just slap on any old paint—you’ve got to do it right to get that professional finish.
First, choose the right paint and primer for your countertop material. Laminate countertops, for example, require a specialized primer to help the paint adhere properly. Tile countertops, on the other hand, might need a different type of paint altogether.

Once you’ve got the right supplies, it’s time to get prepping. Thoroughly clean and sand the surface to create a smooth canvas. Then, apply those thin, even coats of paint for maximum durability. And don’t forget to seal it all up with a clear topcoat to protect against wear and tear.
I know what you’re thinking: won’t the paint chip and peel over time? Not if you do it right! Properly prepared and sealed painted countertops can last for years. Plus, you can get creative with the color palette to complement your kitchen’s style perfectly. Think bold accent colors, sleek monochromes, or trendy ombre effects.
Contact Paper Countertop Makeovers
Speaking of budget-friendly and on-trend, let’s talk about contact paper! This versatile material is a total game-changer for quick and easy countertop transformations.
The key is choosing the contact paper type for your countertop material. Laminate, tile, solid surface – every surface has an option. And the design possibilities are endless, from classic marble patterns to funky geometrics.
Before you start applying, thoroughly clean and prep the surface. You may even need to lightly sand the countertop to help the contact paper adhere properly. Then, measure, cut, and carefully apply the contact paper, smoothing out any bubbles.
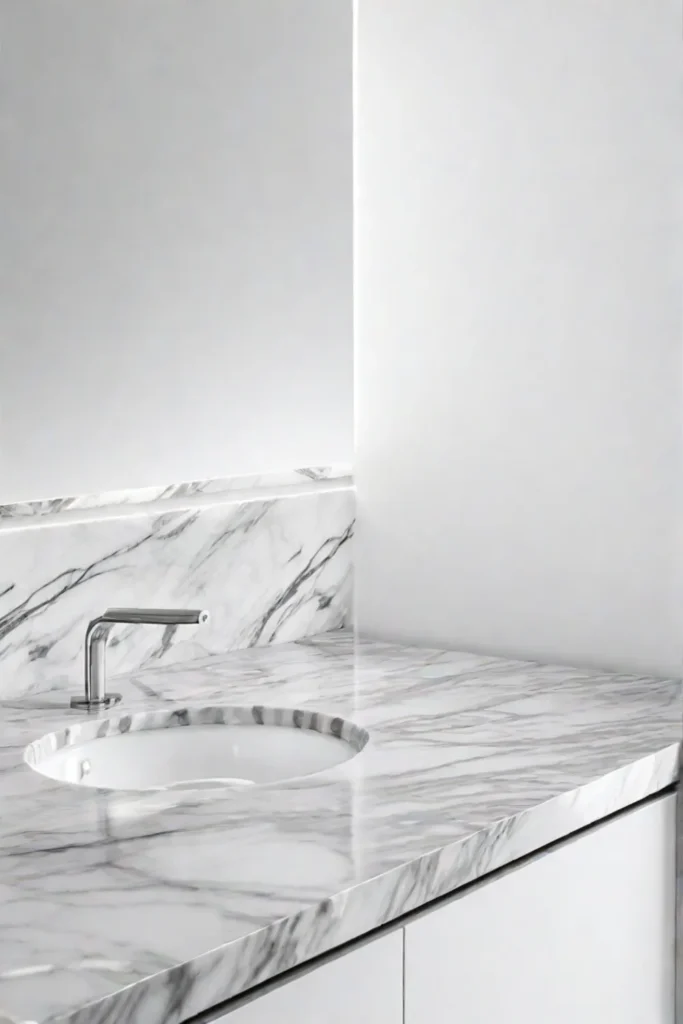
Remember to seal those edges with clear silicone sealant to prevent peeling. The best part? Contact paper is totally removable and replaceable, so you can switch up the look anytime you desire.
Get creative with contact paper beyond the countertops. Use it to create a funky backsplash or even breathe new life into old appliances. The possibilities are endless!
Epoxy Resin Countertop Transformations
If you really want to improve the look of your countertops, epoxy resin is the answer. This material is not only incredibly durable and scratch-resistant but also allows you to create unique, custom designs.
When working with epoxy resin, choosing the right formula for your countertop material is crucial. Epoxy will work whether you’ve got laminate, tile, or a solid surface. The finish options are endless—from high-gloss to matte—with many opportunities to get creative with colors, patterns, and embedded objects.
Before you start pouring, thoroughly clean and prep the surface. That means sanding away any imperfections to ensure a smooth, even application. Then, carefully mix and pour the epoxy according to the manufacturer’s instructions, spreading it evenly with a trowel.
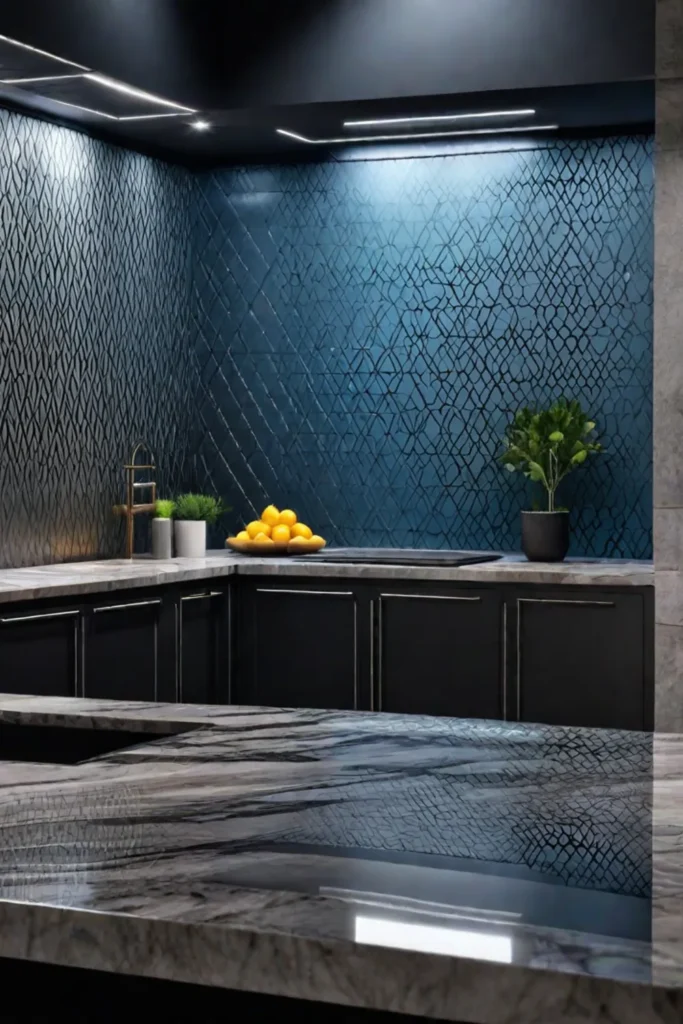
Once cured, you’ll want to seal and protect that gorgeous new surface with a specialized topcoat. This will help keep it looking its best for years to come, even in high-traffic areas.
Epoxy resin is a more involved project than some other options, but the result is truly show-stopping. Imagine a sleek, custom-looking countertop that’s unique to your space. Talk about a major wow factor!
Tile Overlay Countertops
If you love the look of tile but don’t want the hassle of a full countertop replacement, a tile overlay could be the perfect solution. This budget-friendly option lets you transform your existing countertops with a new tile surface.
When selecting the right tile for your project, consider the size, shape, and material that will complement your kitchen’s style. Larger tiles can create a modern, minimalist vibe, while smaller tiles add texture and visual interest. Don’t forget to consider the durability factor—porcelain tiles are a great choice for high-traffic countertops.
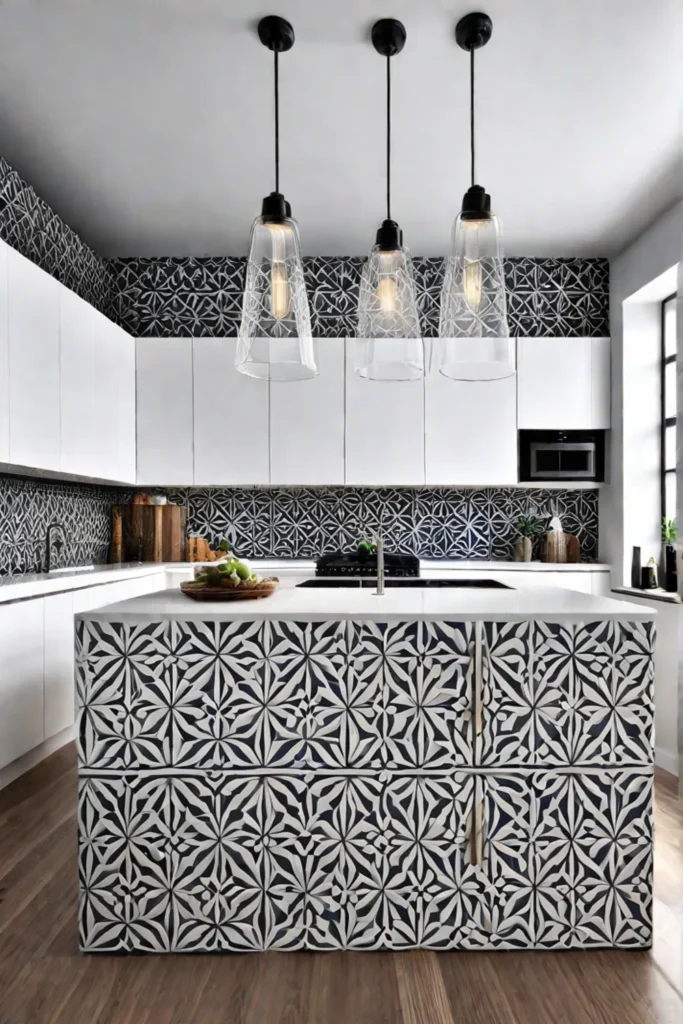
Once you’ve picked out your tile, it’s time to get to work. Start by thoroughly cleaning the surface and leveling out any uneven areas. Then, use a notched trowel to spread the adhesive and carefully press the tiles into place, working from the center outward.
After the tiles are set, you’ll need to grout the lines and seal the whole surface to protect against water damage and stains. This process is a bit more labor-intensive than some other options, but the result is a beautifully customized countertop that’ll make your kitchen look like a million bucks.
Concrete Overlay Countertops
You can’t beat a concrete countertop overlay for a truly unique, industrial-chic look. This DIY project allows you to transform your existing surfaces into a sleek, custom-made masterpiece.
The key is choosing the correct concrete mix and additives for the perfect finish. Look for a pre-blended countertop mix that contains a higher percentage of cement and finer aggregates – this will help ensure a smooth, even application. You can get creative with decorative elements like glass beads or patterned scoring.
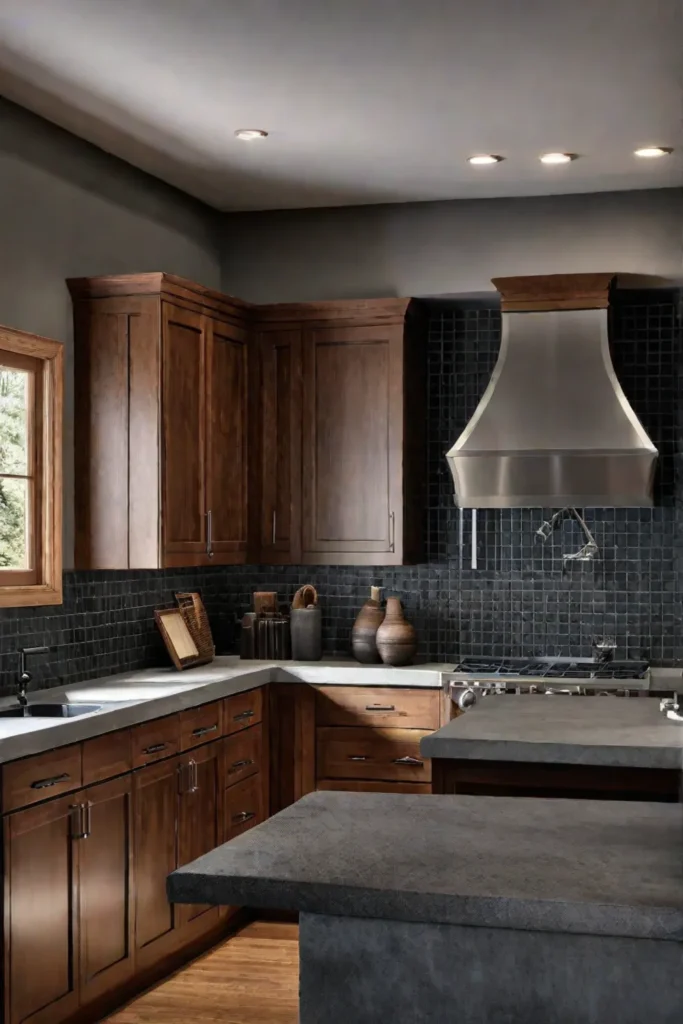
Before you start pouring, make sure to thoroughly clean and prime the surface to help the concrete adhere properly. Then, mix up your custom concrete blend and apply it in thin, even layers using a trowel or float. Let each layer cure before moving on to the next.
Once the concrete is fully cured, you’ll want to seal it to protect against stains, scratches, and heat damage. A penetrating sealer is a great option, as it soaks into the concrete without changing its appearance.
Concrete overlays require a bit more elbow grease than some of the other DIY countertop makeovers, but the result is truly one-of-a-kind. Imagine a sleek, modern kitchen with custom concrete countertops – talk about a showstopper!
Conclusion
Well, there you have it – a whole toolbox of budget-friendly DIY countertop transformation ideas to give your kitchen a fresh look. The possibilities are endless, from painting and contact paper to epoxy resin, tile overlays, and concrete.
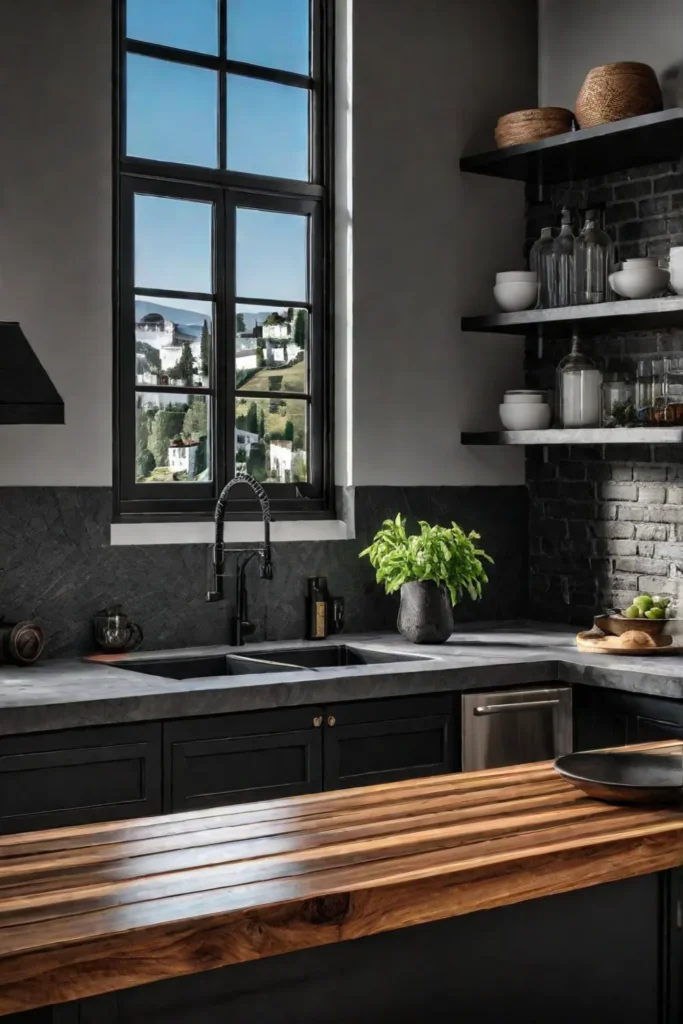
No matter your route, the key is to carefully prep the surface, use the right materials, and follow best practices for a professional-looking finish. With some elbow grease, you can create a custom countertop that’ll have your guests wondering if you hired a high-end designer.
So, what are you waiting for? It’s time to get creative and transform those tired old countertops into the showpiece your kitchen deserves. Who knows, you might discover a hidden DIY superstar within! Happy renovating, my friends.
